Easily create a picture calendar with your photos. This DIY tip is perfect if you want upgrade your home office, hallway or maybe the kitchen! This modern and cute desk calendar is both stylish and easy to make. You can even reuse the numbers from year to year. Read our step-by-step guide or watch the full DIY video to learn how you can do it yourself!
What you’ll need:
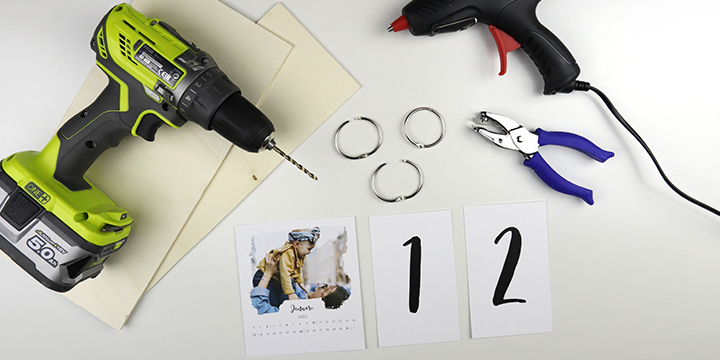
- Calendar photos – product Desk Calendar in Wooden Block
– Select “Refill Wooden Block” - Date numbers – product Luxury Photo Prints for your Wooden Block in portrait format
– Here’s a free template for the numbers - 2 pieces of wood, as shown
- Glue gun
- Drill
- Metal rings
- Hole punch
What to do:
1. Drill three holes in the wooden board
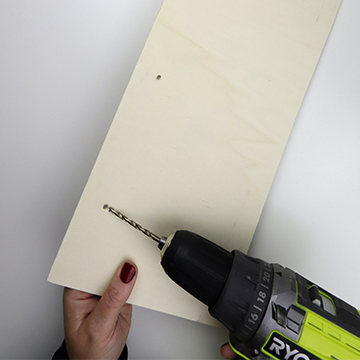
Start by making sure you have two pieces of plywood, one for the back, and one for the base (the one for the base should be the same length but not as wide as the one for the back). Choose the size of the boards based on the width of your pictures and how much wood you want to be visible. Take the back board and place your calendar photos and two numbers on it to see where your three holes will go. Mark their positions with a pencil and then drill the holes.
2. Attach the metal rings
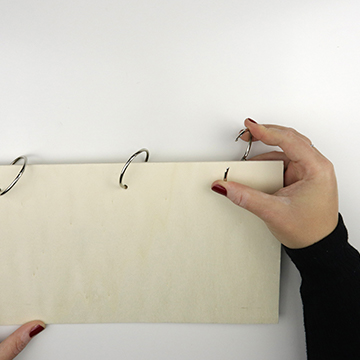
Now take the three metal book rings and put one through each hole. We decided to use book rings, but screw hooks or small nails will work too. Just keep in mind that whatever you use will need to hold 12 monthly pictures and up to 10 pictures for the dates (numbers 0-3 and 0-9).
3. Glue the two pieces of wood together
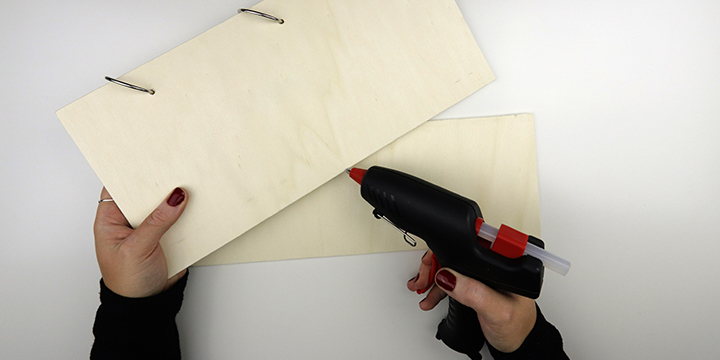
In this step, glue the base board to the back board. It is very important to use a good glue gun so the join is really strong. Press the back board firmly onto the base and hold it in a standing position until the glue has completely dried.
4. Punch a hole in the pictures
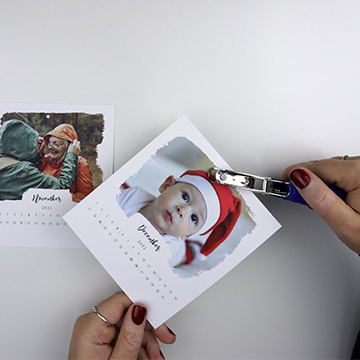
Now take your hole punch and make holes in the middle of the upper edge of each picture and number. It’s a good idea to use the first photo as a template so that all the holes end up in the same place. This will make the photos hang in a straight pile when your photo calendar is finished.
5. Hang your photos
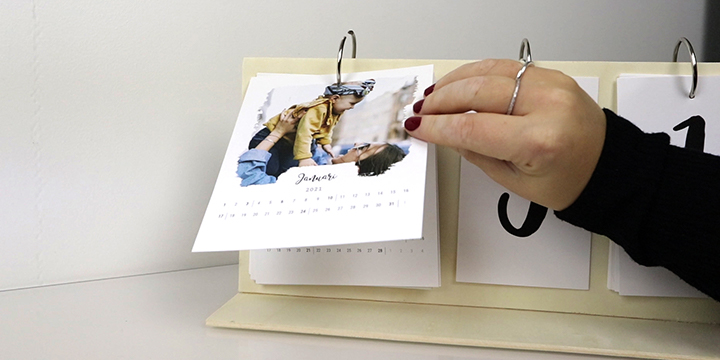
Now for the fun part: hanging the pictures and seeing the finished result! Hang your monthly photos on the left and the dates on the middle and right. The middle pictures are the tens for the dates (i.e., 0-3) and the right is for the units (i.e., 0-9). That’s why numbers 0-3 are doubled up in the template. Remember to have the numbers developed as bluxury photo prints.
Now your photo calendar is ready to be enjoyed! The best part is that you can use this photo calendar year after year! The only things you need to replace are the monthly pictures. How does it look? Brilliant, right?

Other ways to make a photo calendar!
If you love photo calendars and want more variations, or if you just don’t have the time to make our stylish DIY photo calendar, no problem! There are lots of pre-designed photo calendars at Smartphoto.co.uk. Just upload your photos and start creating directly online. Here are our top tips:
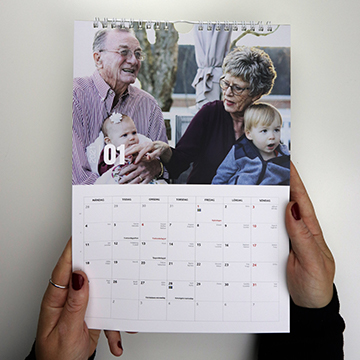
Wall Calendar
Our first tip is a real Christmas gift favorite – our personalized photo wall calendar. It’s available in several different formats and sizes. The one in the picture is our bestseller, the A4 wall calendar. You’ll find it (along with all the others) here.
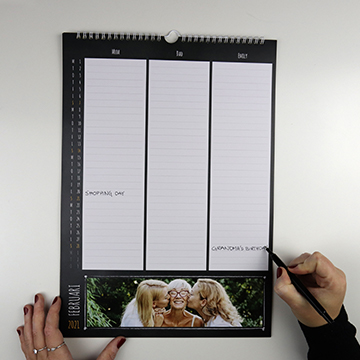
Family Planner
Then there’s the Family Planner, the best photo calendar when it comes to keeping track of all your family member’s activities. You create one column per family member (3-5 columns) and write in the spaces to keep track of everyone’s plans (and yours, of course!).
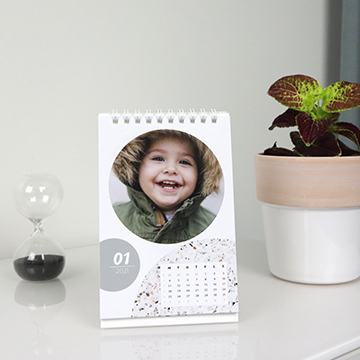
Spiral-bound Desk Calendar
Finally, there’s this stylish spiral-bound photo calendar. Need a calendar that can stand on a dresser, desk, or shelf? Then this spiral-bound desk calendar is what you’re after. It’s available in two sizes, and you can find them here.
You can see Smartphoto’s entire range of photo calendars here. Check out all the calendars and planners you can make with your photos!
Good luck with your DIY calendar. Show us how it turned out on Instagram using the tags @smartphoto.ie and #mysmartphoto. We love to see what you make with your photos!


